**2015 UPDATE: When this post was originally created, I was using a steamer for this tutorial. Since then the FDA has deemed steamers unfit for healthy canning practices, since the necessary internal temperature for killing bacteria and microorganisms is harder to regulate in a steam canner. Please be advised that you should use a hot water bath canner.
It's that time of year again!
It's that time of year again!
Canning season is officially in full swing.
Unfortunately, due to all of the wonderful computer problems I've encountered, I doubt I'll be able to get all the posts about canning published in time for them to be helpful.
We'll see how it goes.
As for now, lets get going on pears!


You know they are ripe when the skin starts to turn from green to yellow, and the flesh gives slightly when pressed.

Materials Needed:
- pears
- orange slices (optional)
- paring knife
- pear corer (optional, but highly recommended)
- large bowl(s)
- large colander
- water, sugar and lemon juice
- butter knife or thin rubber scraper
- mason jars, lids and bands
- large, thick rubber band
- water bath canner
- old towel(s)
- old towel(s)
- bottle lifters
First, clean and/or sanitize your bottles, making sure there is no residue on the top of the opening that would prohibit the new lid to seal properly.
Now, pour 1/4 c. sugar into each jar (quart sized).

Pour about 1 c. of hot tap water into each jar.

Swirl the water around until the sugar is dissolved completely.

Now, cut up some orange slices - as thick or as thin as you'd like.

**This step is completely optional. My mom always put orange slices in the bottom of her pear jars. This is actually the first year that I have done it myself. It does add a slight citrus taste, which in my opinion is much better than how they taste without, but it's not a big deal if you don't want to use them.
Place a slice in the bottom of each jar.

Now you can get started on your pears.
I like to set up 'stations' first.
In one sink I have a large colander with a plastic bag where I put all of the skin and seeds.
**Poke a hole in the bottom of your plastic grocery bag and then lay it out inside of the colander. The juices will run out of the bag and down the drain, and you'll be let with just the pulp.
In the next sink I have a large serving bowl full of cold water.
On the counter, I have a huge bowl half full of cool water with lemon juice added.

After I cut, core and peel each pear, I dip it in the bowl in the sink to rinse it off.
Then I toss it in the huge red bowl. The lemon juice will keep the pears from turning brown, until there is enough to start filling the bottles.
To get started, cut each pear in half.
This is where your pear corer will come in handy. This is what they look like:

It will have a tear drop section, with a blade at the top of the teardrop, and one at the bottom.
The top blade takes out the stem down to the core:

And the bottom end will remove the seeds and the blossom on the end:

If you are wanting to get serious about canning, this tool is a must have!
And if you don't have one...
click on the amazon link on the right side of my blog under 'canning recommendations'.
But anyway...
Keep peeling and coring until your lemon juice/water bowl has enough to start filling your bottles.
**Each quart will hold about 5 pears (when halved), and you need 7 quarts to fill your steamer or water bath.

To maximize space, pear halves should always be placed cut side down.

You may need to use a spoon to flip them over.

Once your jar is full, run it under the tap to wash away all the pear flesh that has accumulated around the top.
You will also need to fill the bottle up with water, leaving about 1" head space.

Once your jar is filled with water, take a butter knife and run it down the 4 'corners' of the bottle. This will remove any air bubbles.

Now run your fingertip around the top of the jar, making sure (again) that there is no residue or breaks in the glass. Scrape any debris off with your fingernail. If there is a chip/break in the glass, you will not get a proper seal and you should not use the bottle for canning.

Once the rim is clean, place a new lid on and screw a band on as tight as you can with only one hand.
If the lid is screwed on too tightly, the bottles will break.
Continue doing this with the remaining pears and bottles, and put them in your water bath canner. Fill with water until completely covering the lids. Put the lid on, and turn the unit on high.

Do not start the timer until steam is consistently coming out.
If you are unsure, then it probably isn't. It will be obvious:
While waiting, continue filling up the remaining bottles.
Before the time is done, get an old towel, fold it in half, and place it on the counter next to your pears.
This will be used to put the hot bottles - the towel will soak up the splatters and save your counter from getting burn marks.
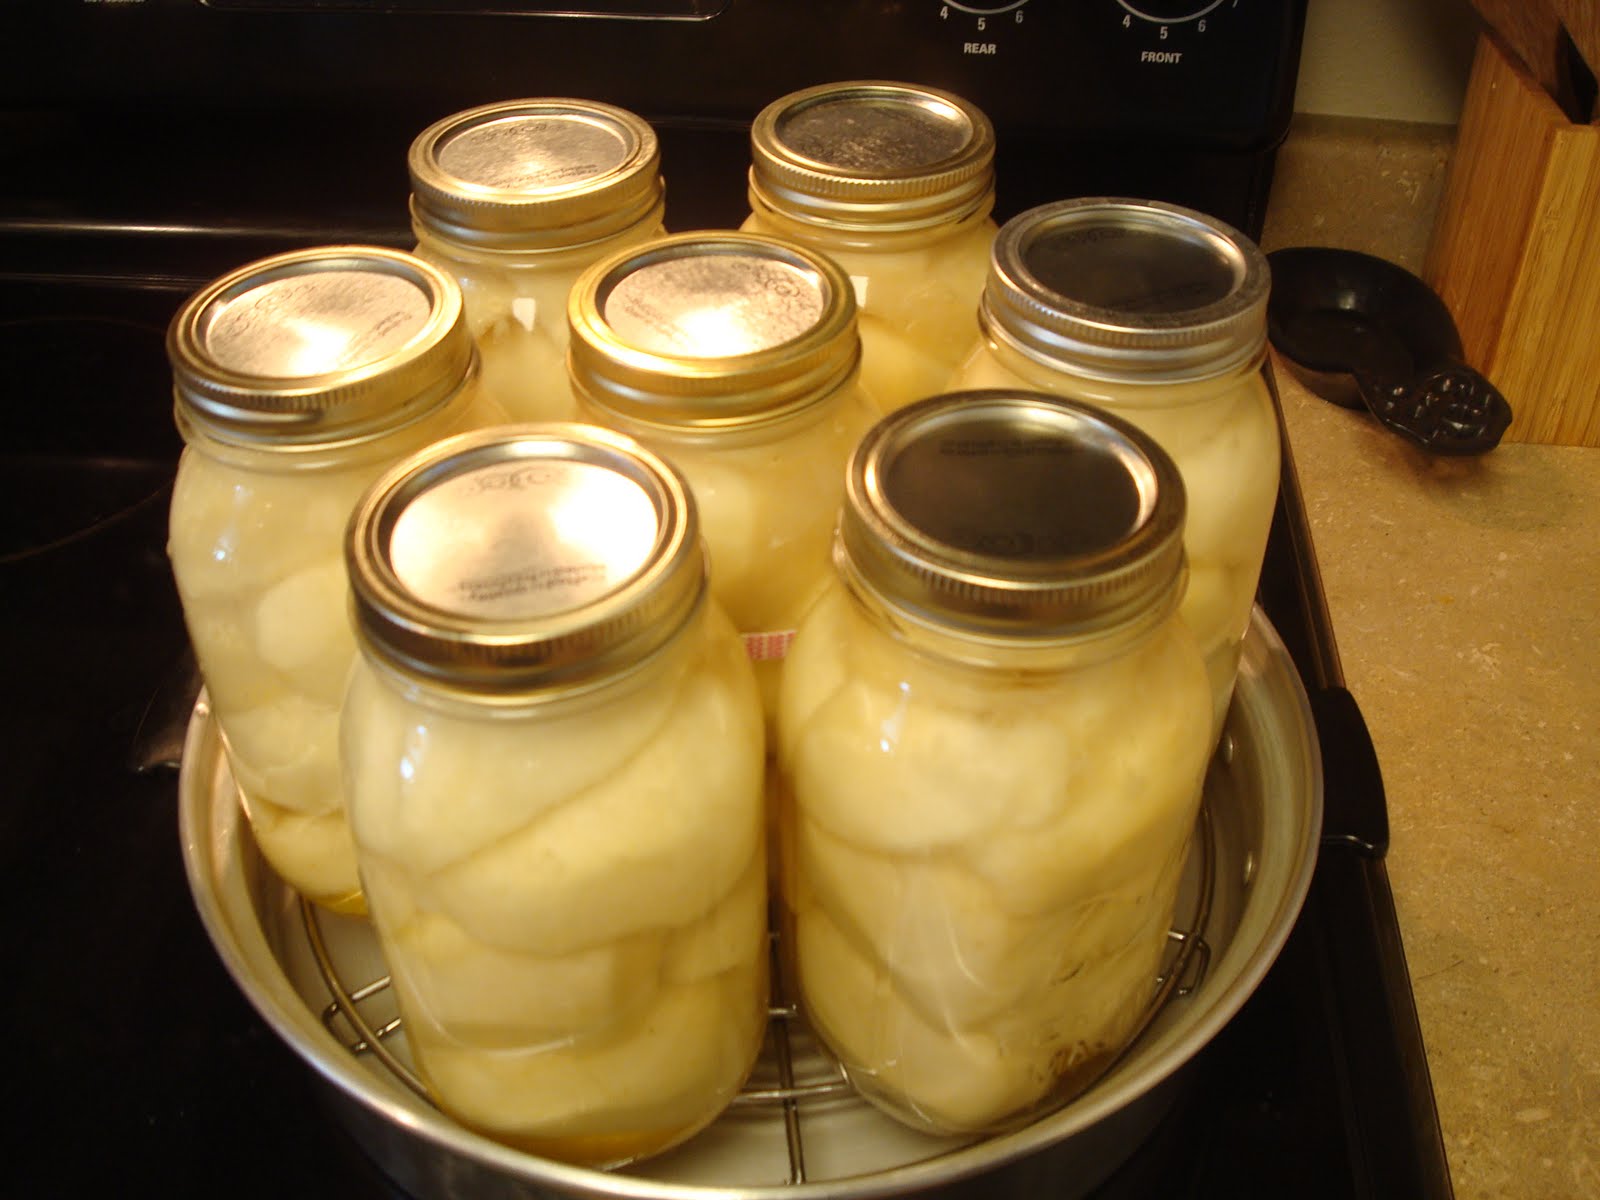
When time is done, bottles should be covered with water - some of the lids may appear to be sealed, and others will still have a rounded middle. This is normal.
Use your bottle lifters to transfer them to the towel.

Continue these steps with your remaining pears until everything is done.
Bottles should seal as they cool - hearing sporadic 'pops' coming from the kitchen is a good thing!
Once everything is cool, press down on the center of each lid to make sure the bottles sealed properly. If you have to manually push the lid down, it didn't seal properly (even if it didn't bounce back up).
All unsealed or opened cans should be stored in the fridge.
**If you are unsure if the bottle is sealed, take the band off and try to lift the lid with your fingers. A properly sealed lid should not be easy to remove.
Once all of the bottles are cooled, you will need to clean them.
If the juices are left to harden it kind of turns into glue over time.
Start by removing all of your bands and placing them in hot water to soak.

Use a scrub brush and run it around the inside of each and lay them on a clean towel to dry.
Same concept with the bottles.
Be sure to clean all the gunk off of the rim where the band screws on.

Lay everything out on a towel to dry,

Write the date (or year) on each lid,

Screw the bands on and put them away!

And you're done!

It will have a tear drop section, with a blade at the top of the teardrop, and one at the bottom.
The top blade takes out the stem down to the core:

And the bottom end will remove the seeds and the blossom on the end:

If you are wanting to get serious about canning, this tool is a must have!
And if you don't have one...
click on the amazon link on the right side of my blog under 'canning recommendations'.
But anyway...
Keep peeling and coring until your lemon juice/water bowl has enough to start filling your bottles.
**Each quart will hold about 5 pears (when halved), and you need 7 quarts to fill your steamer or water bath.

To maximize space, pear halves should always be placed cut side down.

You may need to use a spoon to flip them over.

Once your jar is full, run it under the tap to wash away all the pear flesh that has accumulated around the top.
You will also need to fill the bottle up with water, leaving about 1" head space.

Once your jar is filled with water, take a butter knife and run it down the 4 'corners' of the bottle. This will remove any air bubbles.

Now run your fingertip around the top of the jar, making sure (again) that there is no residue or breaks in the glass. Scrape any debris off with your fingernail. If there is a chip/break in the glass, you will not get a proper seal and you should not use the bottle for canning.

Once the rim is clean, place a new lid on and screw a band on as tight as you can with only one hand.
If the lid is screwed on too tightly, the bottles will break.
Continue doing this with the remaining pears and bottles, and put them in your water bath canner. Fill with water until completely covering the lids. Put the lid on, and turn the unit on high.
Steam quarts for 25 minutes, pints for 20.
(Remember to adjust for altitude - Utah time is 35 minutes for quarts, 30 for pints)Do not start the timer until steam is consistently coming out.
If you are unsure, then it probably isn't. It will be obvious:
While waiting, continue filling up the remaining bottles.
Before the time is done, get an old towel, fold it in half, and place it on the counter next to your pears.
This will be used to put the hot bottles - the towel will soak up the splatters and save your counter from getting burn marks.
When time is done, bottles should be covered with water - some of the lids may appear to be sealed, and others will still have a rounded middle. This is normal.
Use your bottle lifters to transfer them to the towel.

Continue these steps with your remaining pears until everything is done.
Bottles should seal as they cool - hearing sporadic 'pops' coming from the kitchen is a good thing!
Once everything is cool, press down on the center of each lid to make sure the bottles sealed properly. If you have to manually push the lid down, it didn't seal properly (even if it didn't bounce back up).
All unsealed or opened cans should be stored in the fridge.
**If you are unsure if the bottle is sealed, take the band off and try to lift the lid with your fingers. A properly sealed lid should not be easy to remove.
Once all of the bottles are cooled, you will need to clean them.
If the juices are left to harden it kind of turns into glue over time.
Start by removing all of your bands and placing them in hot water to soak.

Use a scrub brush and run it around the inside of each and lay them on a clean towel to dry.
Same concept with the bottles.
Be sure to clean all the gunk off of the rim where the band screws on.

Lay everything out on a towel to dry,

Write the date (or year) on each lid,

Screw the bands on and put them away!

And you're done!
Reading this made me nostalgic for the days when I spent my summer and early fall canning up fruits and veggies for my family. I think this year I will do some canning (its been over 20 years since I have done any) but on a much smaller scale since now its only me.
ReplyDelete